
-
Fast and easy to use: Ready for chairside application with minimal extra steps. “Fast and easy to use” is a claim for the Kuraray version.
-
Selective staining of non-remineralizable carious dentin: Only the “infected” dentin gets stained, while remineralisable (healthy) dentin remains unstained, facilitating minimally-invasive removal. For example: “Stains only non-reminerizable carious dentin.”
-
Preserves healthy tooth tissue: By helping you avoid over-excavation of dentin that could still be saved, the dye supports pulp vitality and structural preservation. (“…helps clinicians to preserve healthy tissue.”)
-
Clear visual contrast: The dye should produce a strong visible color (red/pink or another contrasting shade) so that the stained dentin is clearly visible under operative light. (See for example other brands: dark blue color for contrast.
-
Safe to use (no adverse side-effects): Good products will note that they are free from side-effects and suitable for routine use in cavity preparation. (“Free from side effects”).
⚙️ Specification / Technical & Usage Details
While these dyes typically do not have “mechanical strength” specs like composites, there are still important usage/specification parameters to be aware of:
-
Chemical composition / active principle: For example, one older caries-detector dye is described as “1% Acid Red solution in a propylene glycol solvent” which stains loosened collagen fibres of outer carious dentin red/pink.
-
Indication: For staining carious dentin in cavity preparations (i.e., after caries removal or during excavation). E.g., “Disclosing caries dentin in cavity preparations.”
-
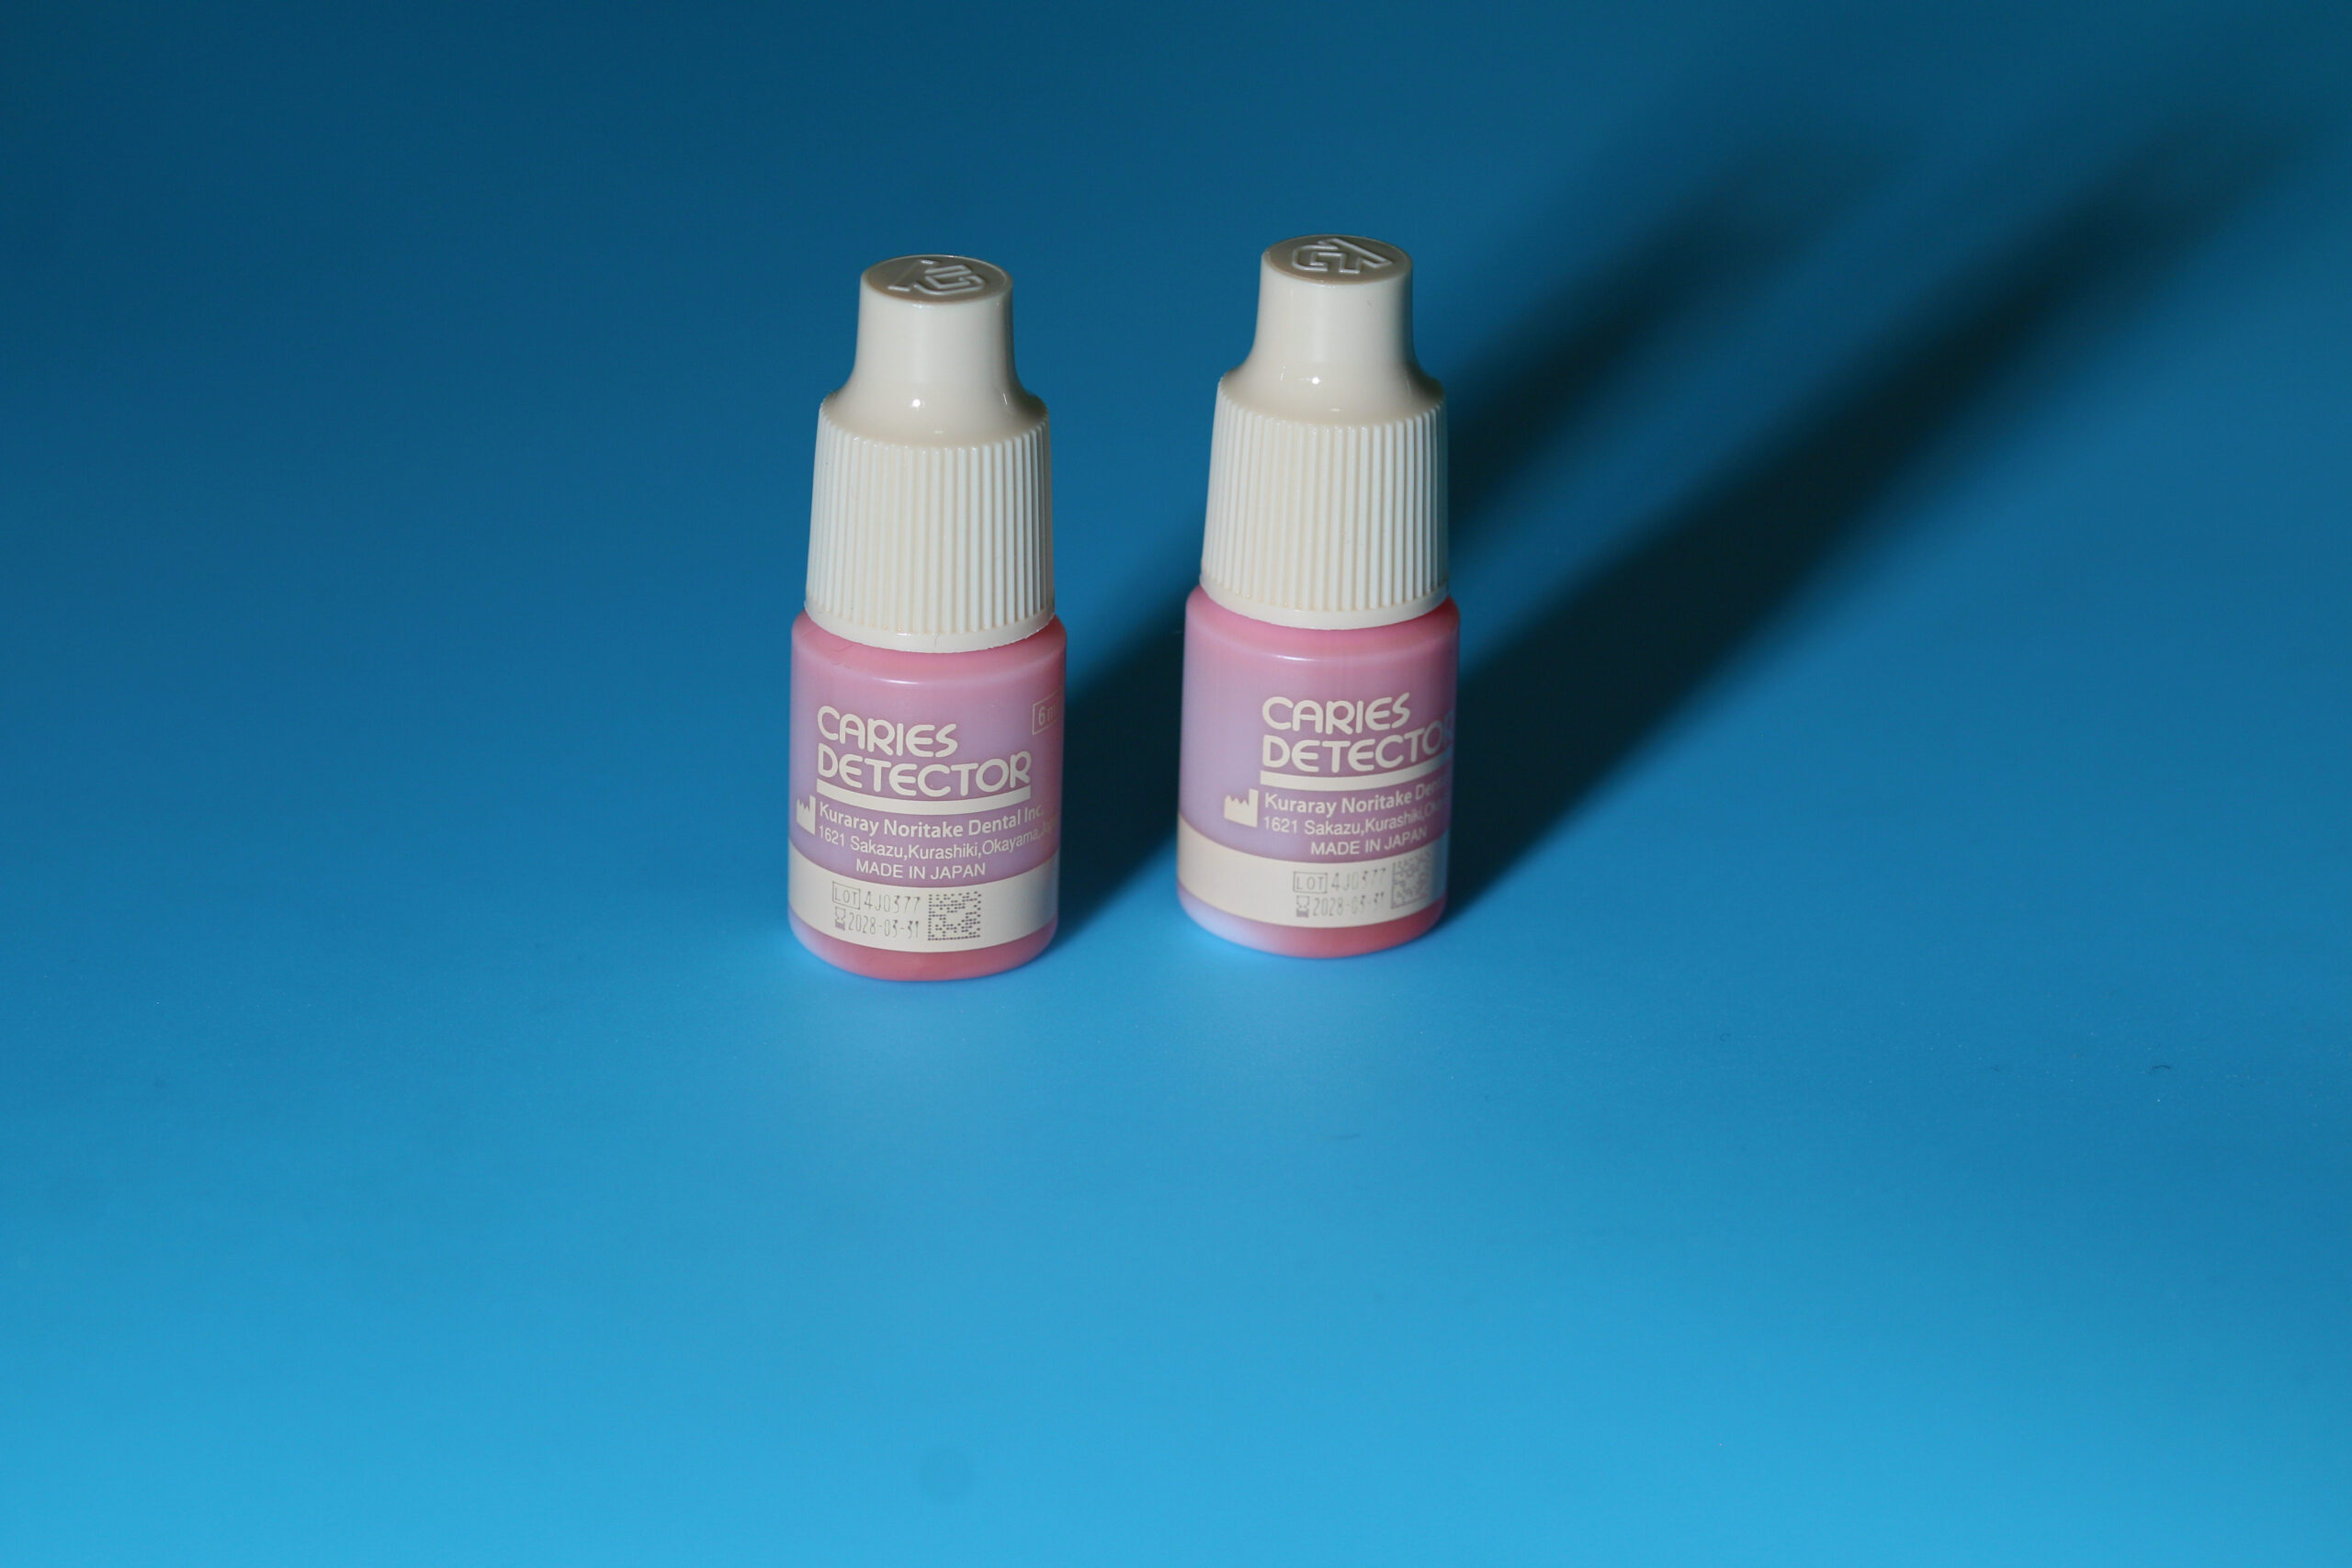
Packaging / volume: For example the Kuraray version listed as “2 × 6 mL bottle” for an item number.
-
Procedure/usage time: Some dyes may require a certain contact time (e.g., 10 seconds) before rinsing. Example: the Pulpdent “Snoop Caries Detecting Dye” states “stains infected carious dentin in 10 seconds.”
-
Colour / contrast: The visual colour the dye imparts can vary (red/pink, blue, etc) depending on brand. For example: dark blue for high contrast with dentin and pulp.
-
Shelf life / storage: Although not always specified, check for storage temperature, expiration date. For example other dyes mention 2-year shelf life.
-
Additional claims: e.g., some state “does not stain remineralizable caries-affected dentin.” (“Does not stain remineralisable caries affected dentin.”)
📝 Clinical Tips for Use
-
Apply the dye after initial caries removal/excavation has exposed the suspected dentin.
-
Ensure the field is clean (remove debris, rinse lightly) to allow the dye to penetrate the demineralized dentin.
-
Apply the dye according to the manufacturer’s instructions (e.g., contact time of 10 s, rinse thoroughly).
-
Evaluate the stained area: the dark-coloured areas represent infected dentin that should be removed; unstained areas may represent affected but remineralizable dentin—so you may choose to preserve them if clinically appropriate.
-
After removal of the stained dentin, continue with your bonding/restorative protocol. Use adhesives/composites as required.
-
Using the dye helps enhance the predictability of excavation and may improve bonding outcomes by ensuring you’re bonding to healthy or optimally prepared substrate. For example, “Caries detector dye … allows objective method of achieving Caries Removal End-points (CRE).”
-
Keep in mind: The dye is an adjunct, not a substitute for clinical judgement. Visual, tactile exam, radiographs and your experience still matter. For example, in one study the dye revealed caries at enamel-dentine junction in 57% of cavities that had been considered caries-free by visual/tactile exam.


Reviews
There are no reviews yet.